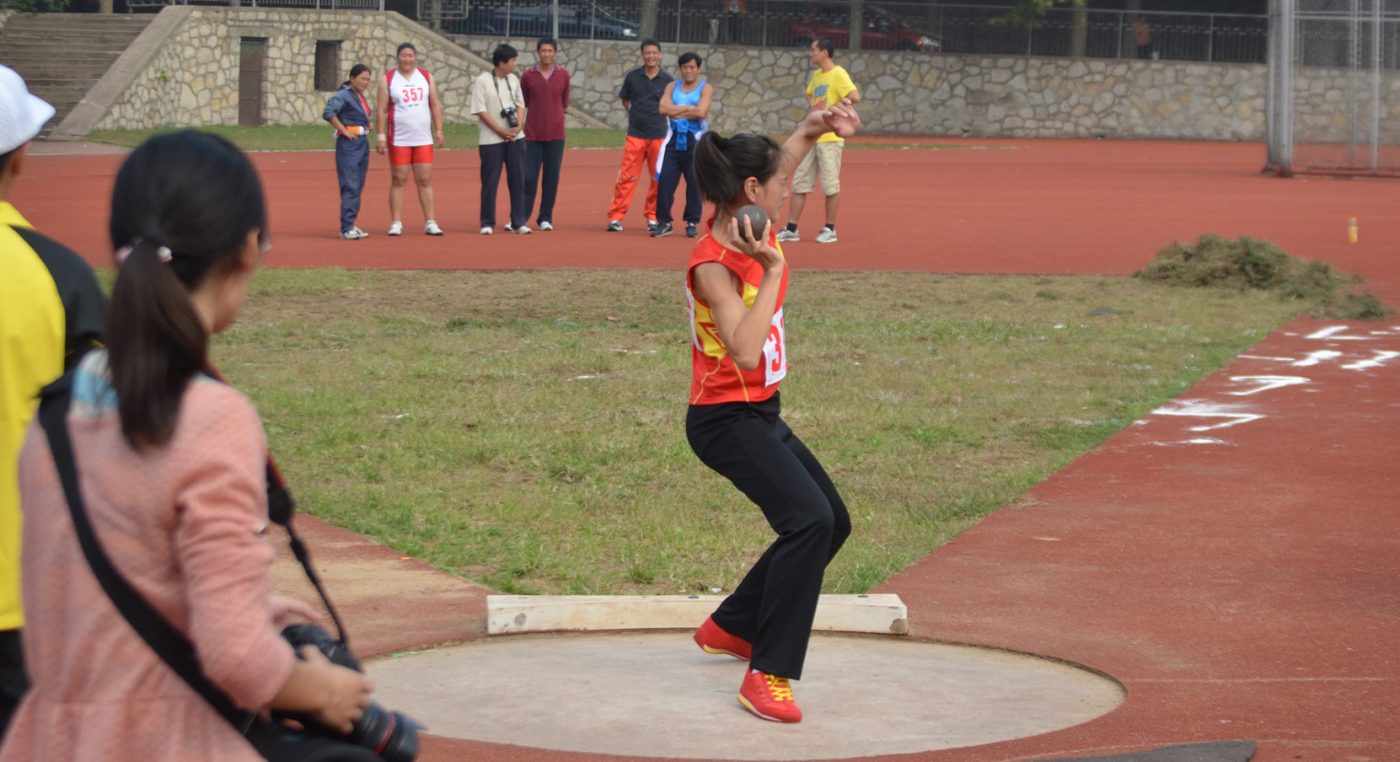
Shot put safety
Safety is of the utmost importance when coaching any of the throwing events. Children must be drilled from an early age to throw and collect only on instruction from a coach.
Always instruct athletes to collect all throwing implements once everyone has thrown. Never allow anyone to collect whilst others are throwing — no matter how soft the implement.
Shot put is a push throw
Introduce athletes to the shot put as a push throw through the use of a light (1kg) med ball or similar before you do anything else.
Use a chest push technique with two hands so they become accustomed to pushing an implement away from their body. The med ball challenge from sportshall athletics has some useful starting resources for the use of a med ball to replicate various throwing movements for athletics. Concentrate on the push throw as a specific exercise for now because the shot put is a push throw.
Athletics 365, England Athletics’ multi-event development programme, also contains a series of useful videos which demonstrate a shot put progression beginning with the basics of a standing shot put. There are some useful coaching cues along the way. Take time to study the videos and make note of the cues so you can use them in your own coaching practice.
The following video of the first stage of the push throw in Athletics 365 uses a two-handed push throw using a med ball. Note the emphasis throughout on safety. Knowing when to throw and retrieve is the first learning point.
You can encourage children to push up as well as forwards by providing a raised target for them to aim at. Indoors at Vale of York we use a basketball hoop or netball hoop in a school sports hall.
To maximise upper body force production, arms should be fully extended through the elbows.
Legs, wrist and fingers in the med ball push throw
The shot put is not just about the upper body, though. Encourage athletes to use their whole body to generate the force required for a really big push. This mean bending knees and extending legs before pushing through with arms.
Once an athlete is comfortable coordinating the use of their lower body to move before elbows and arms, encourage them to use their wrists and fingers to flick the ball even further at the very end of the push throw.
Once athletes are able to use a flick action at the end of the throw, you can get them to think about their feet if they have not done so already. Is is best to have both feet together or apart? Should one be staggered in from of the other? There is a lot to think about, so take this slowly but do encourage athletes to learn through trial and error.
Athletes should not take a run up but they should be encouraged to think about the effect of transferring weight from their back leg to their front, effectively stepping into the push throw in order to benefit from increased forward momentum. Don’t worry if they step over the line at this stage, but use the line as a reference point for them to think about as they progress towards competition where lines and the perimeter of the throwing circle will matter.
See the following video of Stage 2 of the push throw from Athletics 365 (up to 2:23) for some useful slow motion video footage and commentary. The backward overhead throws demonstrated after 2:23 is a useful general exercise that can be used for conditioning purposes.
Once an athlete can consistently demonstrate good technique with a med ball they are ready to move onto the shot put itself. The following tables shows the appropriate shot put weights for ages up to and including senior athletes for females and males. Note: for masters age group the weights begin to reduce again after age 50. See this page from Neuff for a comprehensive list of all throwing weights for all age groups.
Female athletes shot put weights
| Age Category | Weight | Diameter Range |
| U13 | 2.72kg | 85 – 110 mm |
| U15 | 3kg | 85 – 110 mm |
| U17 | 3kg | 85 – 110 mm |
| U18 | 3kg | 85 – 110 mm |
| U20 | 4kg | 95 – 110 mm |
| Senior | 4kg | 95 – 110 mm |
Male athletes shot put weights
| Age Category | Weight | Diameter Range |
| U13 | 3kg | 85 – 110 mm |
| U15 | 4kg | 95 – 110 mm |
| U17 | 5kg | 100 – 120 mm |
| U18 | 5kg | 100 – 120 mm |
| U20 | 6kg | 105 – 125 mm |
| Senior | 7.26kg | 110 – 130 mm |
It always best to start off lighter and progress to a heavier weight in training. Also you must make sure your athletes are well warmed up first of all. Throwing with one arm is tiring so don’t do too much in one session!
Once you have the appropriate weight for your athlete then this video from Athletics 365 is a good starting point for some sensible coaching cues and techniques to look out for.
Homework
How can you get children to practise the shot put safely at home? Obviously you do not want them throwing heavy object around unsupervised. So the safest way is to get them to concentrate on the push throw mechanics with something light that they may have around the house.
How about using a few rolled up pairs of socks to make a ‘soft put’ which is what is suggested by Little Athletics News South Wales in the following video.

